Transform Your Floors: A Calm, Step-by-Step Sanding Plan
If your boards look tired, scratched, or a bit beyond “lived-in”, don’t panic. With the right prep, clear steps, and a steady hand, you can transform drab timber into a calm, clean canvas that lifts the whole room.
Whether you’re sprucing up a flat to let, reclaiming period character, or simply fed up with dull planks that never look clean, this guide gives you the confidence to plan and execute a stress-free project from first inspection to final coat. We’ll cover what to do (and what not to do), how to avoid common mistakes, and how to protect your fresh finish so it stays beautiful for years.
This guide demystifies Wood Floor Sanding and shows you exactly how to approach it like a pro—without losing your weekend, your temper, or your floor’s character.
1) First, decide if sanding is the right move
Before you hire machines or buy abrasives, look closely at what’s really going on:
- Are you dealing with surface scuffs and light wear? A thorough clean, a fine abrade, and a new topcoat might be enough.
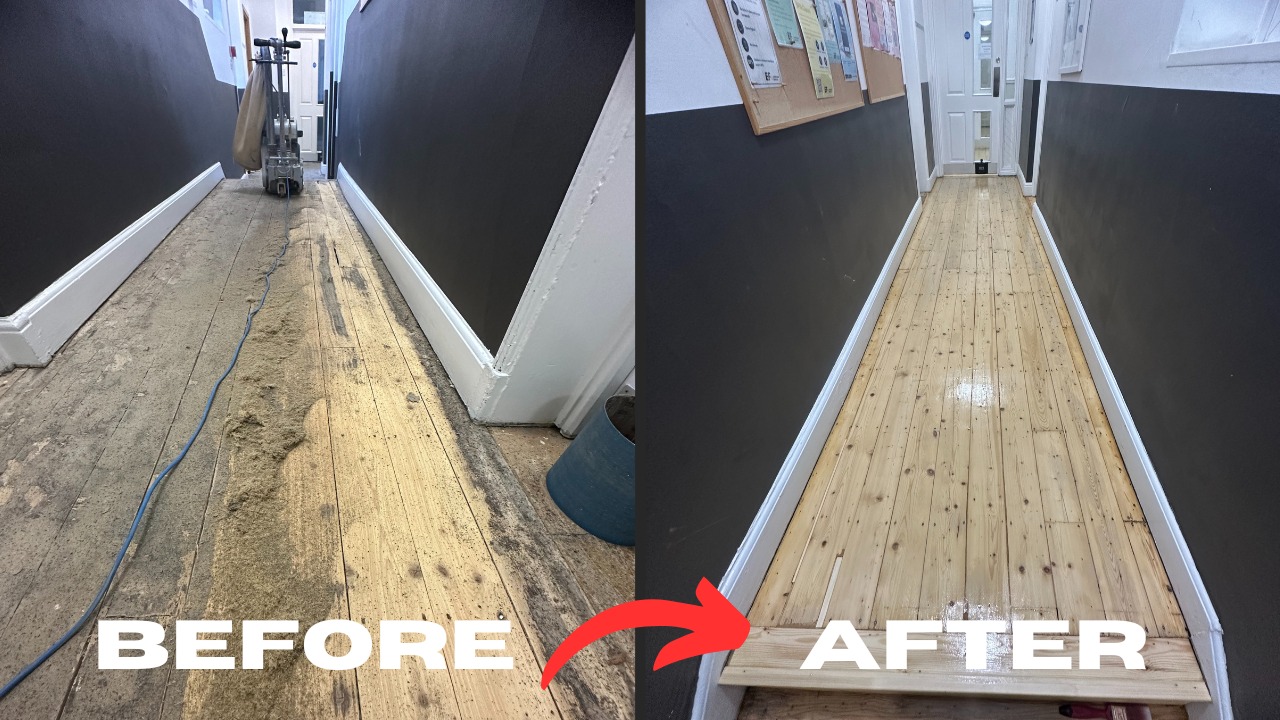
- Deep scratches, grey traffic lanes, or flaking finish? That usually calls for a full sand to bare timber.
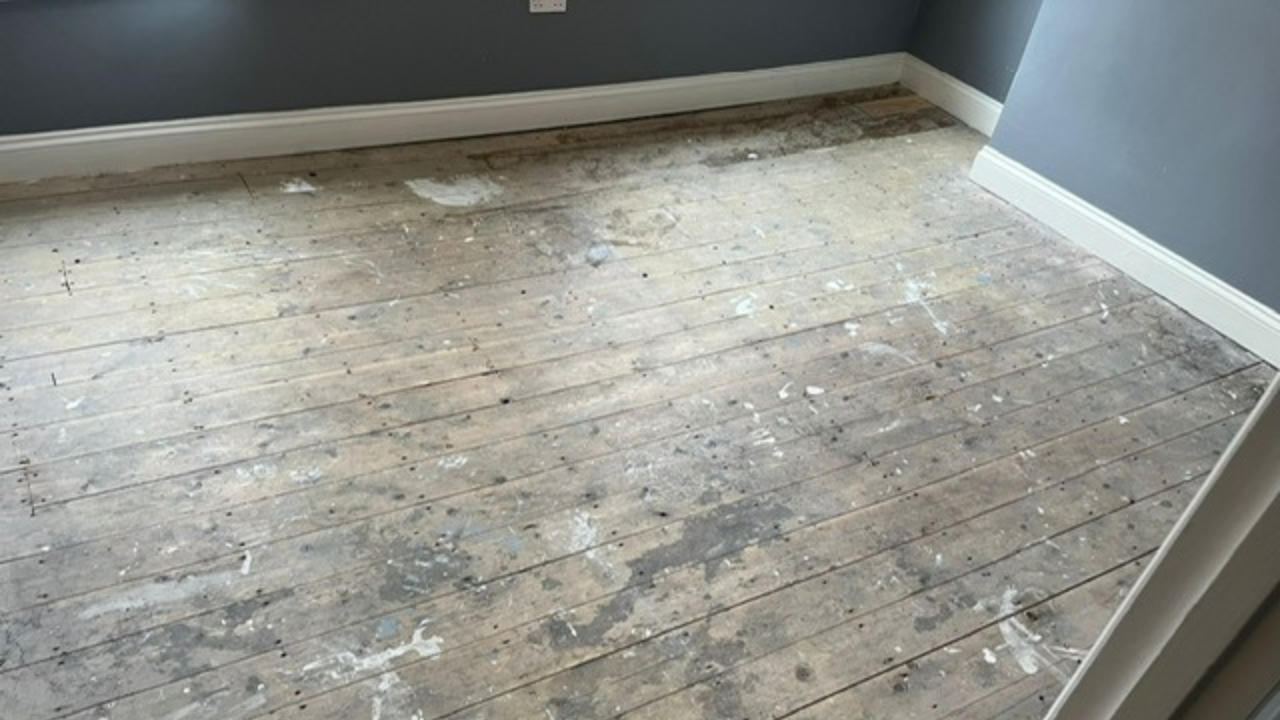
- Loose boards, severe cupping or water damage? You may need repairs before any machine touches the surface.
- Engineered vs. solid wood: Engineered planks often can be resanded—but only if there’s enough wear layer left (typically 3–6 mm). If you can’t confirm, lift a threshold or use a vent hole to peep the edge.
As a rule: if the finish has failed or the wood is uneven to the touch, consider Wood Floor Sanding before replacing the lot. It’s often faster, cheaper, and far more sustainable than ripping up perfectly good timber.
2) Set your expectations (and your schedule)
A successful project has realistic boundaries:
- Room-by-room is best. Move furniture out completely where possible.
- Expect dust—but control it. Modern kit and good technique keep dust down to a dull roar.
- Allocate buffer time. You’ll need drying/curing time between coats; this is not a rush job.
- Liveability: Plan sleeping, pets, and access while finishes cure.
Write your plan on paper: rooms, sequence, tools to hire/buy, repairs needed, grits to use, and finish type. A calm plan means a calm sanding day.
3) Tools and materials you’ll actually use
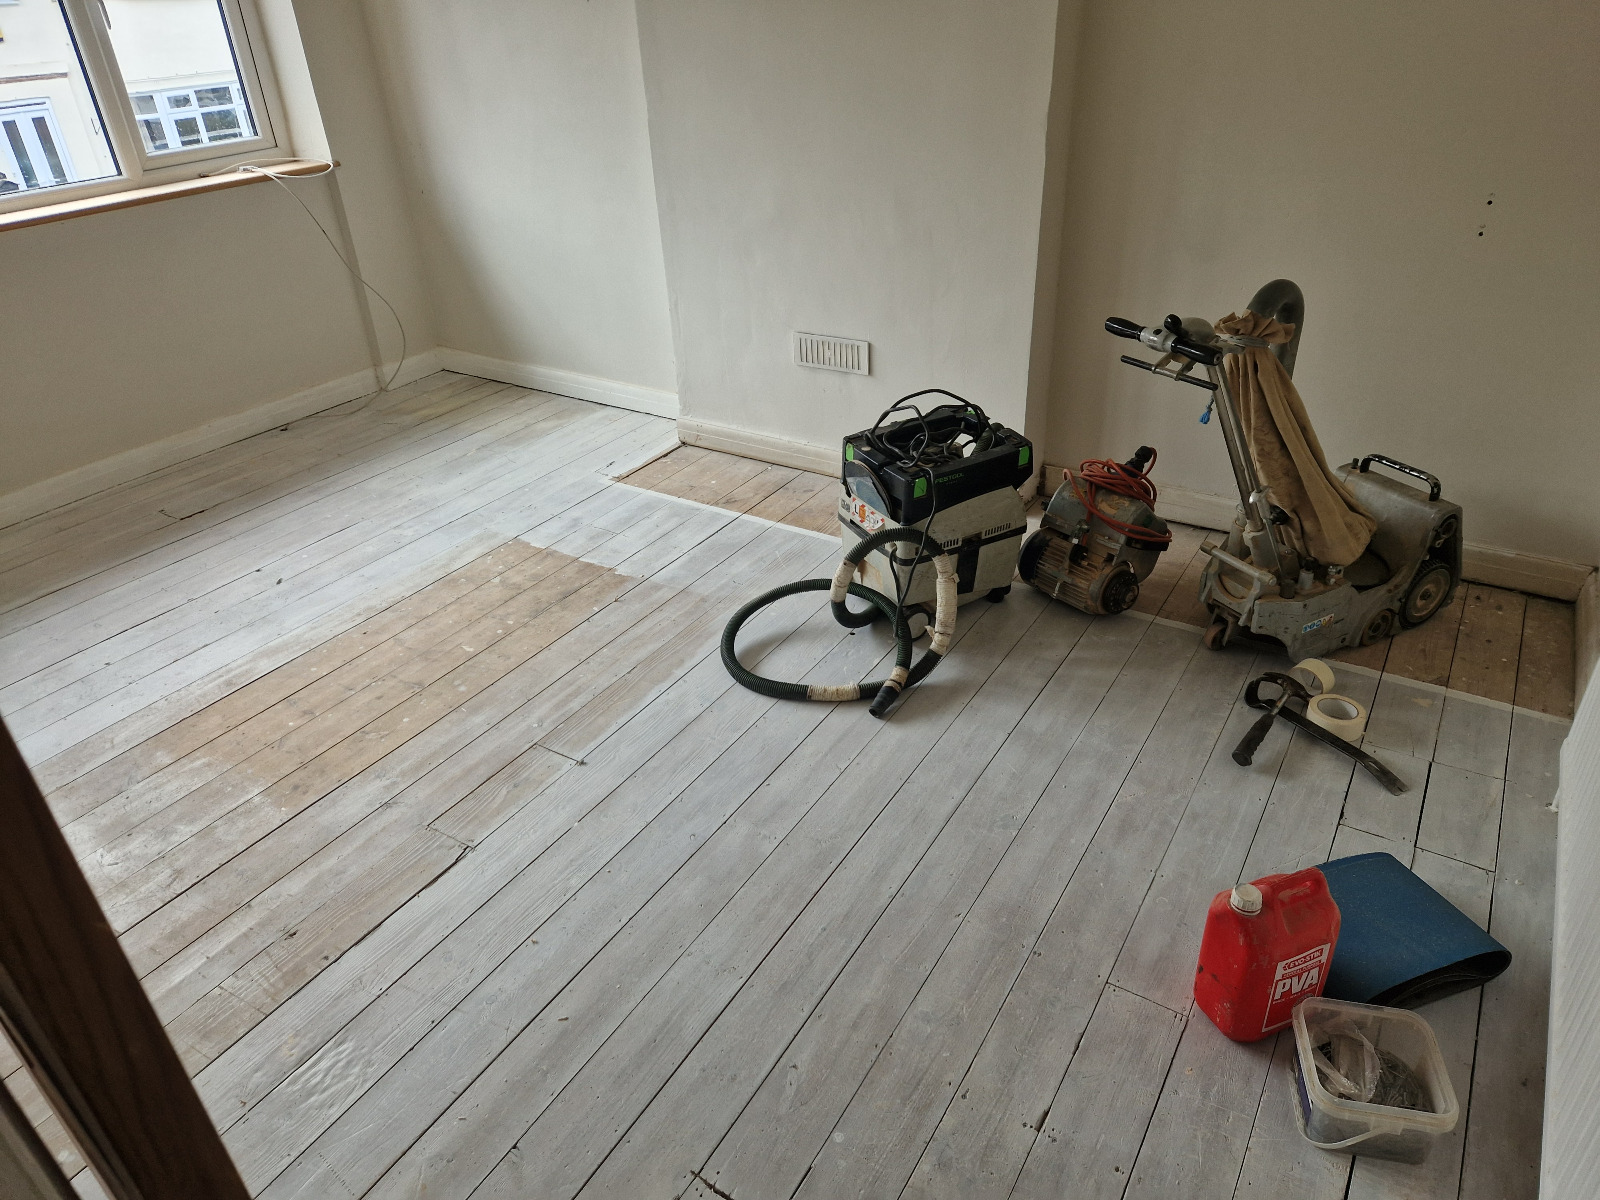
Machines
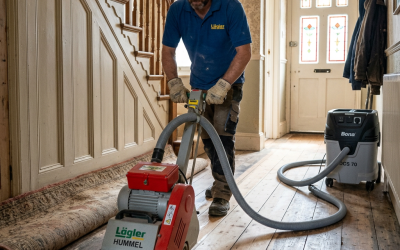
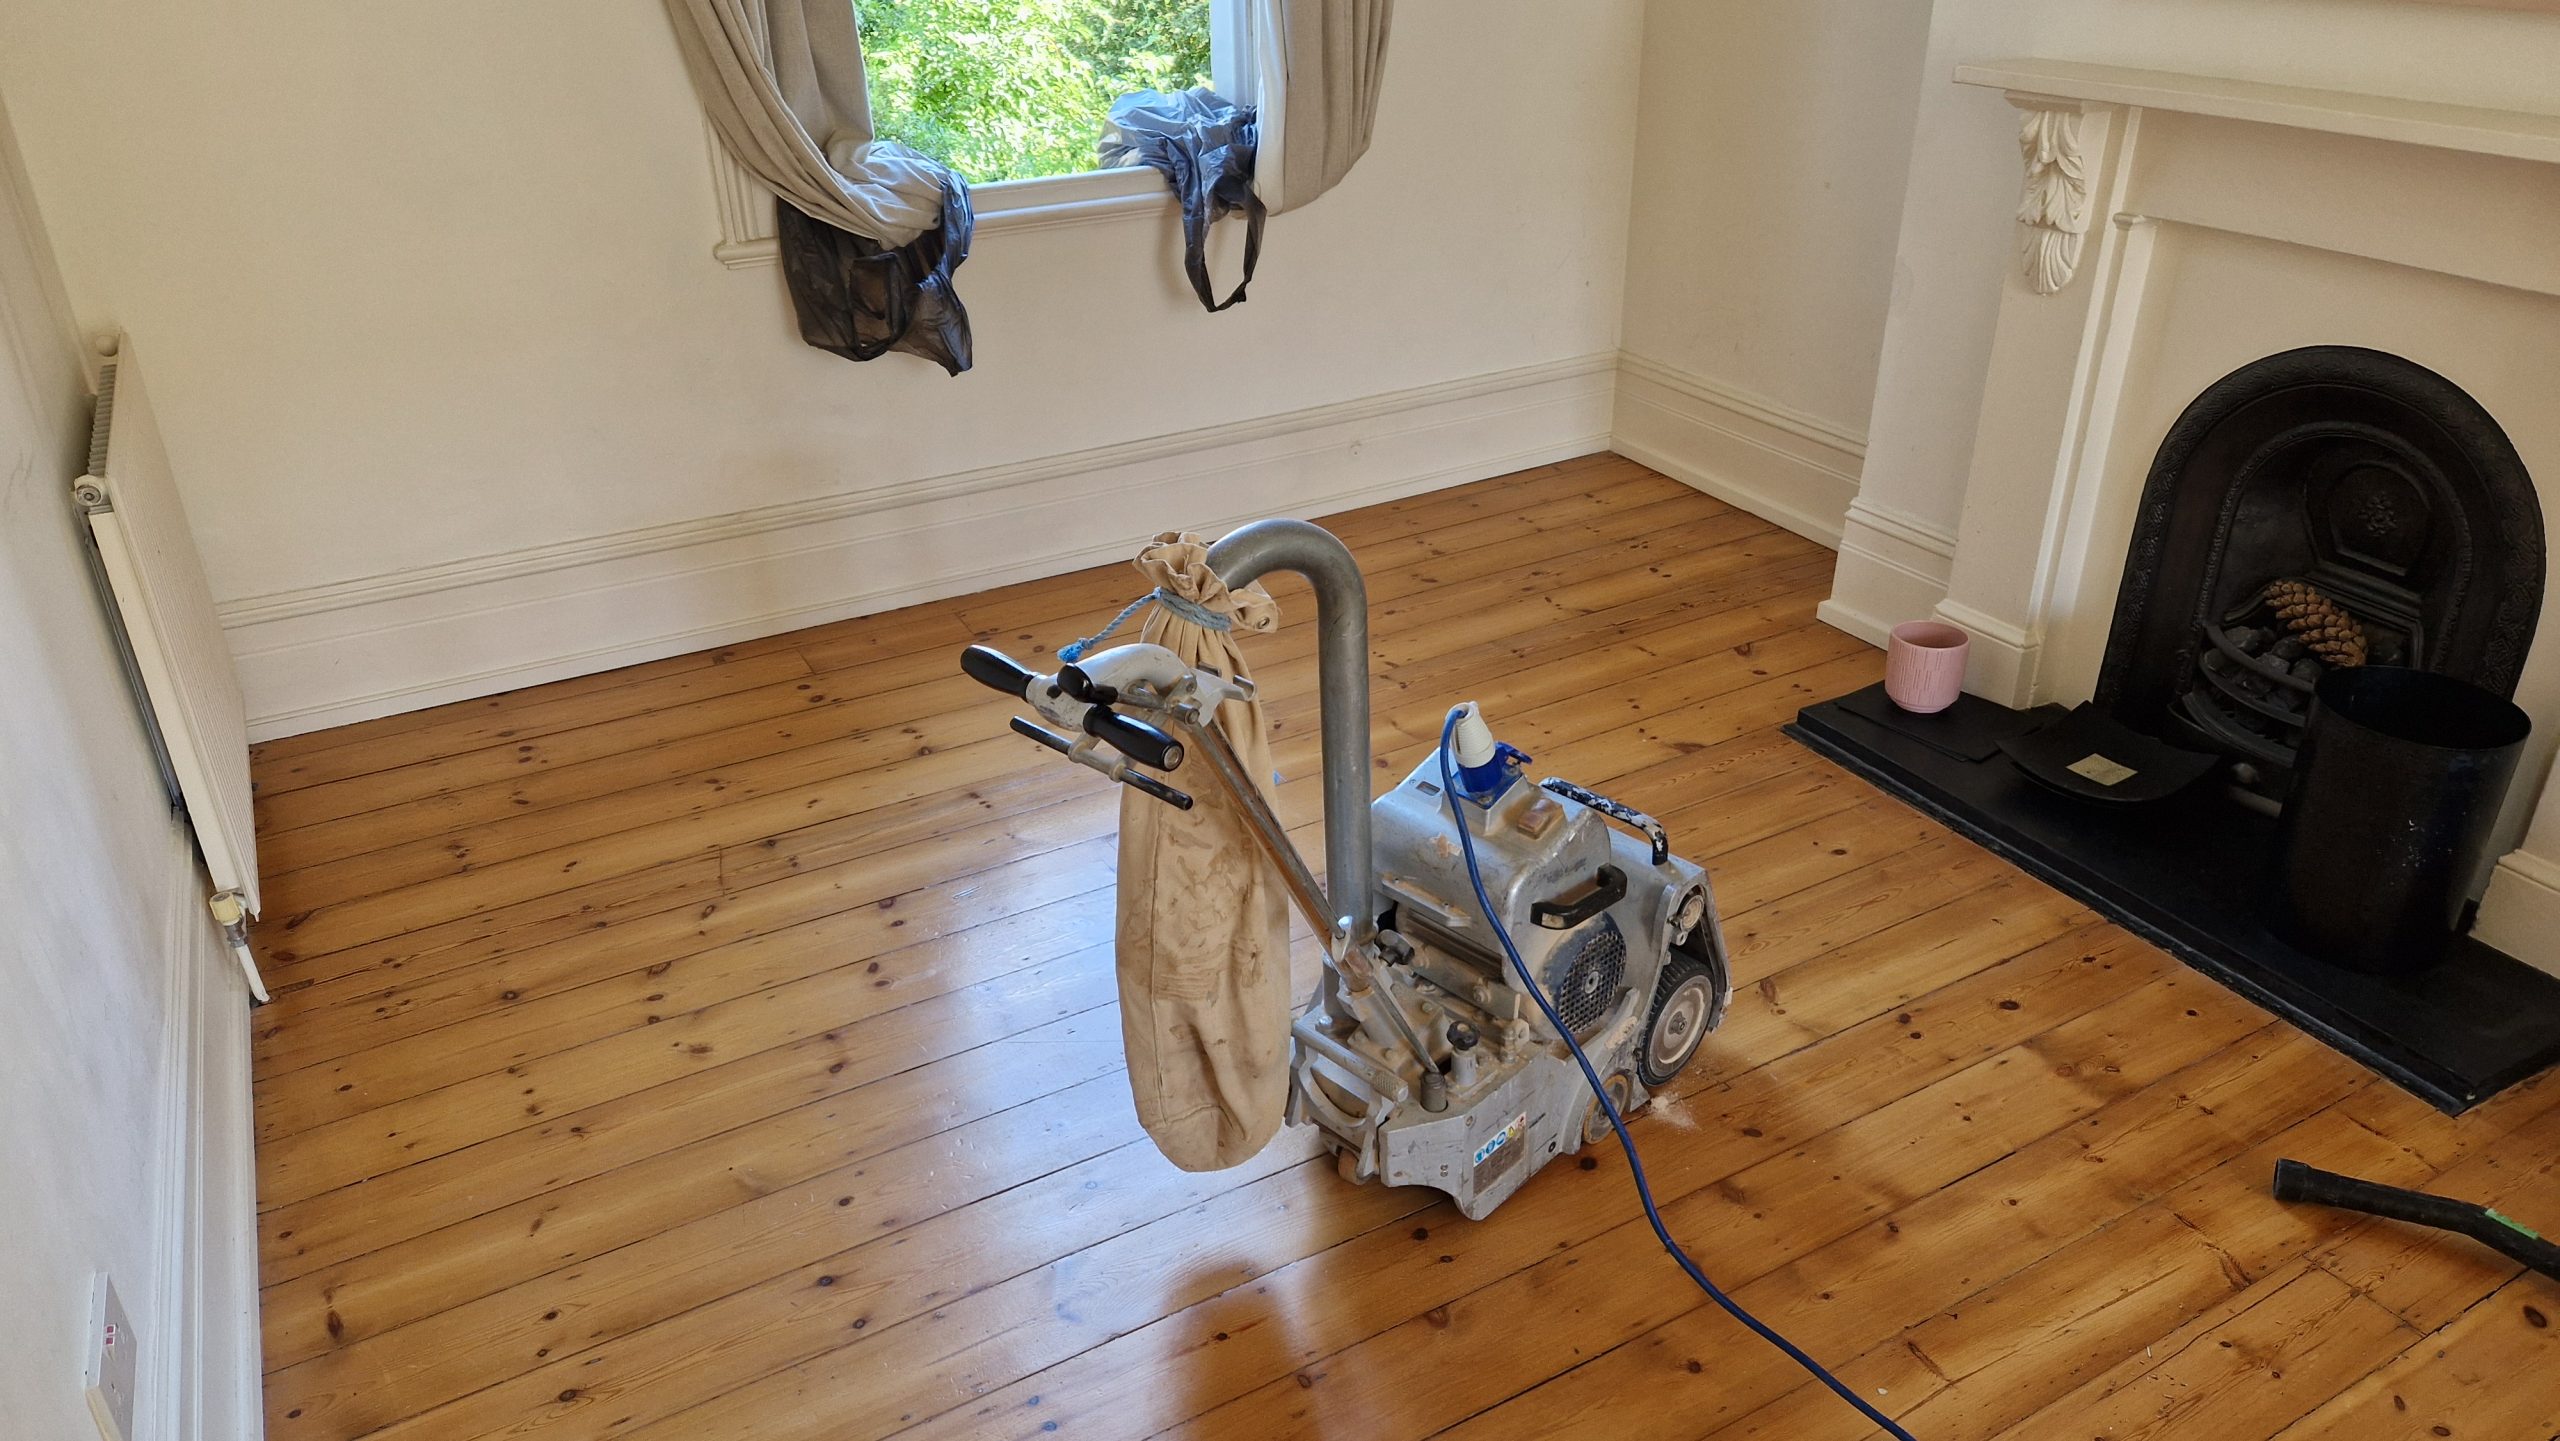
- Drum or belt sander for the main field.
- Edge sander for edges and under radiators.
- Corner detail tool (or hand blocks) for tight spots.
- Vacuum (with a HEPA filter if you can).
- Random-orbit sander (optional but brilliant for blending and final passes).
Abrasives
- A grit progression that matches the floor’s condition (more on that next).
- Fresh discs/belts: blunt paper burns wood and leaves marks.
Consumables & kit
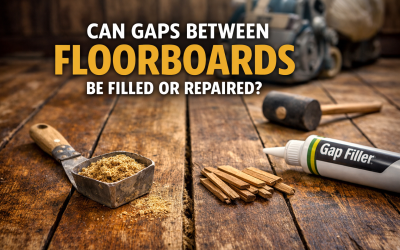
- Filler/putty or resin + dust for colour-matched gap filling.
- Punch and nails/screws for popped fixings.
- Masking tape, plastic sheeting, microfibre cloths, tack cloths.
- PPE: dust mask (rated), ear defenders, knee pads, safety glasses.
For first-timers, supervised hire for Wood Floor Sanding is a smart middle ground: you get the right machines, a quick lesson, and fewer “learning moments”.
4) Choose the right grit sequence (your secret weapon)
Your starting grit is dictated by the worst defects you must remove:
- Heavy damage / thick old finish: Start around 24–36.
- Moderate wear, some scratches: Start at 40–50.
- Light wear, thin finish: Start at 60.
From your starting point, step up sensibly: usually +20–24 between grits (e.g., 40 → 60 → 80 → 100). Don’t skip the final refinement: the last pass level should suit your finish system (oils are forgiving; high-sheen lacquers reveal everything).
Golden rule: Each pass should remove the scratches from the previous grit—no more, no less. If you still see coarse lines, repeat that grit before moving on.
5) Prep the room like a pro
- Remove everything: furniture, rugs, vents, grilles, doors if necessary.
- De-nail and de-screw: punch nail heads below the surface; set screws flush.
- Seal the space: tape doorways, cover radiators, bag light fittings if they trap dust.
- Ventilation plan: you want airflow without blasting in debris (crack a window slightly, use a fan to pull air out).
- Test a discrete area: a few strokes with your starting grit will confirm you’ve chosen correctly.

6) The sanding sequence, step by step
Here’s the sequence for successful Wood Floor Sanding:
A) First cut (levelling pass)
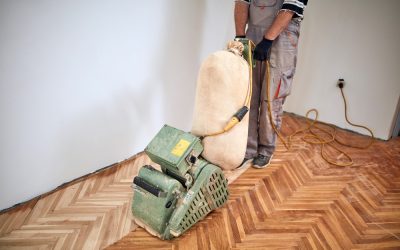
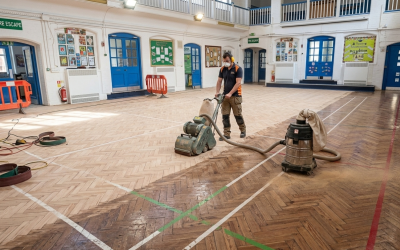
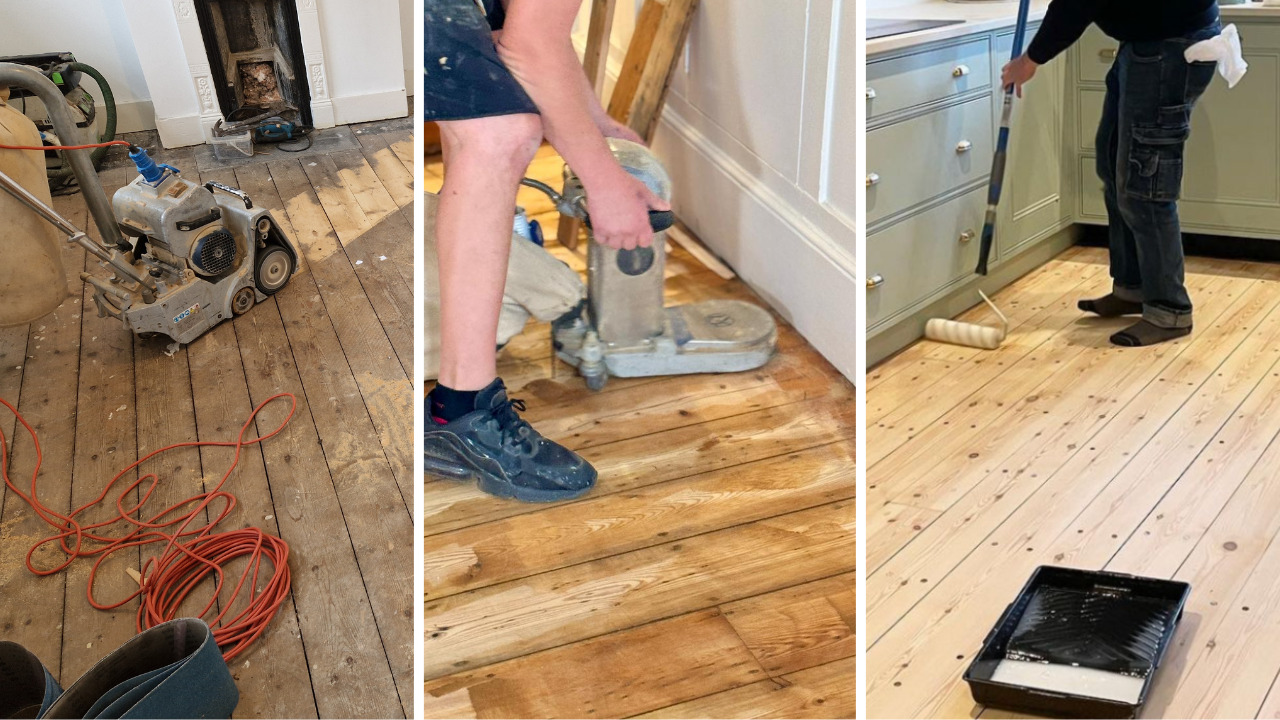
- Run the drum/belt sander with the grain where possible; in parquet, follow the block pattern diagonally for the first passes to flatten high spots.
- Keep the machine moving when lowering the drum; ease off before stopping.
- Vacuum thoroughly after the pass.
B) Edge work at the same grit
- Match the edge sander’s grit to your last drum grit.
- Work in smooth arcs; avoid dwelling in one spot.
- Blend edge-to-field overlap using a random-orbit sander if needed.
C) Intermediate passes
- Step through your planned grits, field first, edges next. Vacuum between each.
- Inspect under low, raking light to reveal swirls and lines.
D) Repairs and filling
- Fill wider gaps and nail holes after your middle pass (e.g., after 60 or 80).
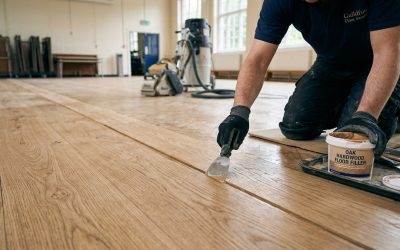
- Use resin + fine sanding dust from the floor for a better colour match than pre-mixed fillers.
E) Final refinement
- Finish at the grit recommended for your finish (often 100–120 for lacquers; 100 is fine for oils).
- A very light screen with a mesh pad (120–150) evens the surface before coating.
7) Corners, thresholds, and stairs
- Corners: Hand-sand with blocks following the grain; keep edges crisp, not rounded.
- Thresholds: Decide whether to remove or mask; keep transitions neat so finishes stop cleanly.
- Stairs: Use a small detail sander and sharp scrapers; sand treads and risers separately; protect stringers.
8) Dust control & safety (the calm factor)
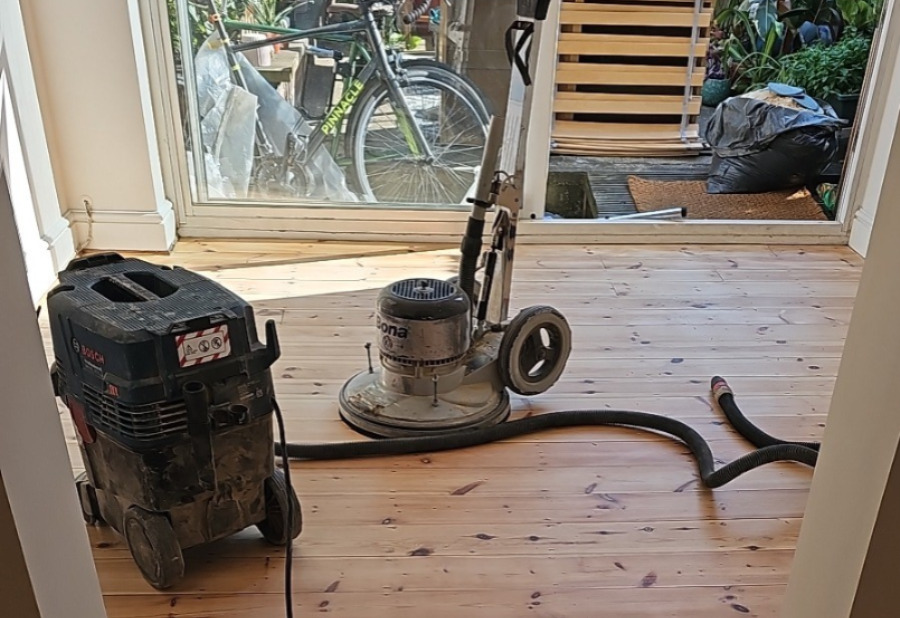
- Bag it, don’t blast it. Keep sander bags a third to half full; empty them safely outdoors.
- Avoid sparks: check for hidden nails and staples.
- Mask up: use a rated respirator, not a paper DIY mask.
- Tidy as you go: frequent vacuuming keeps abrasives cutting cleanly and your mood steady.
9) Picking your finish: feel, sheen, and lifestyle
Your finish is as much about touch as appearance. Think about maintenance, traffic, and the look you love.
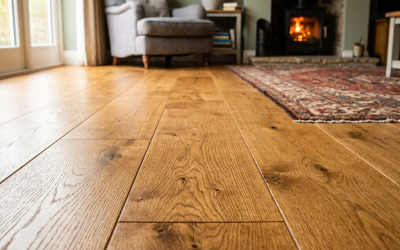
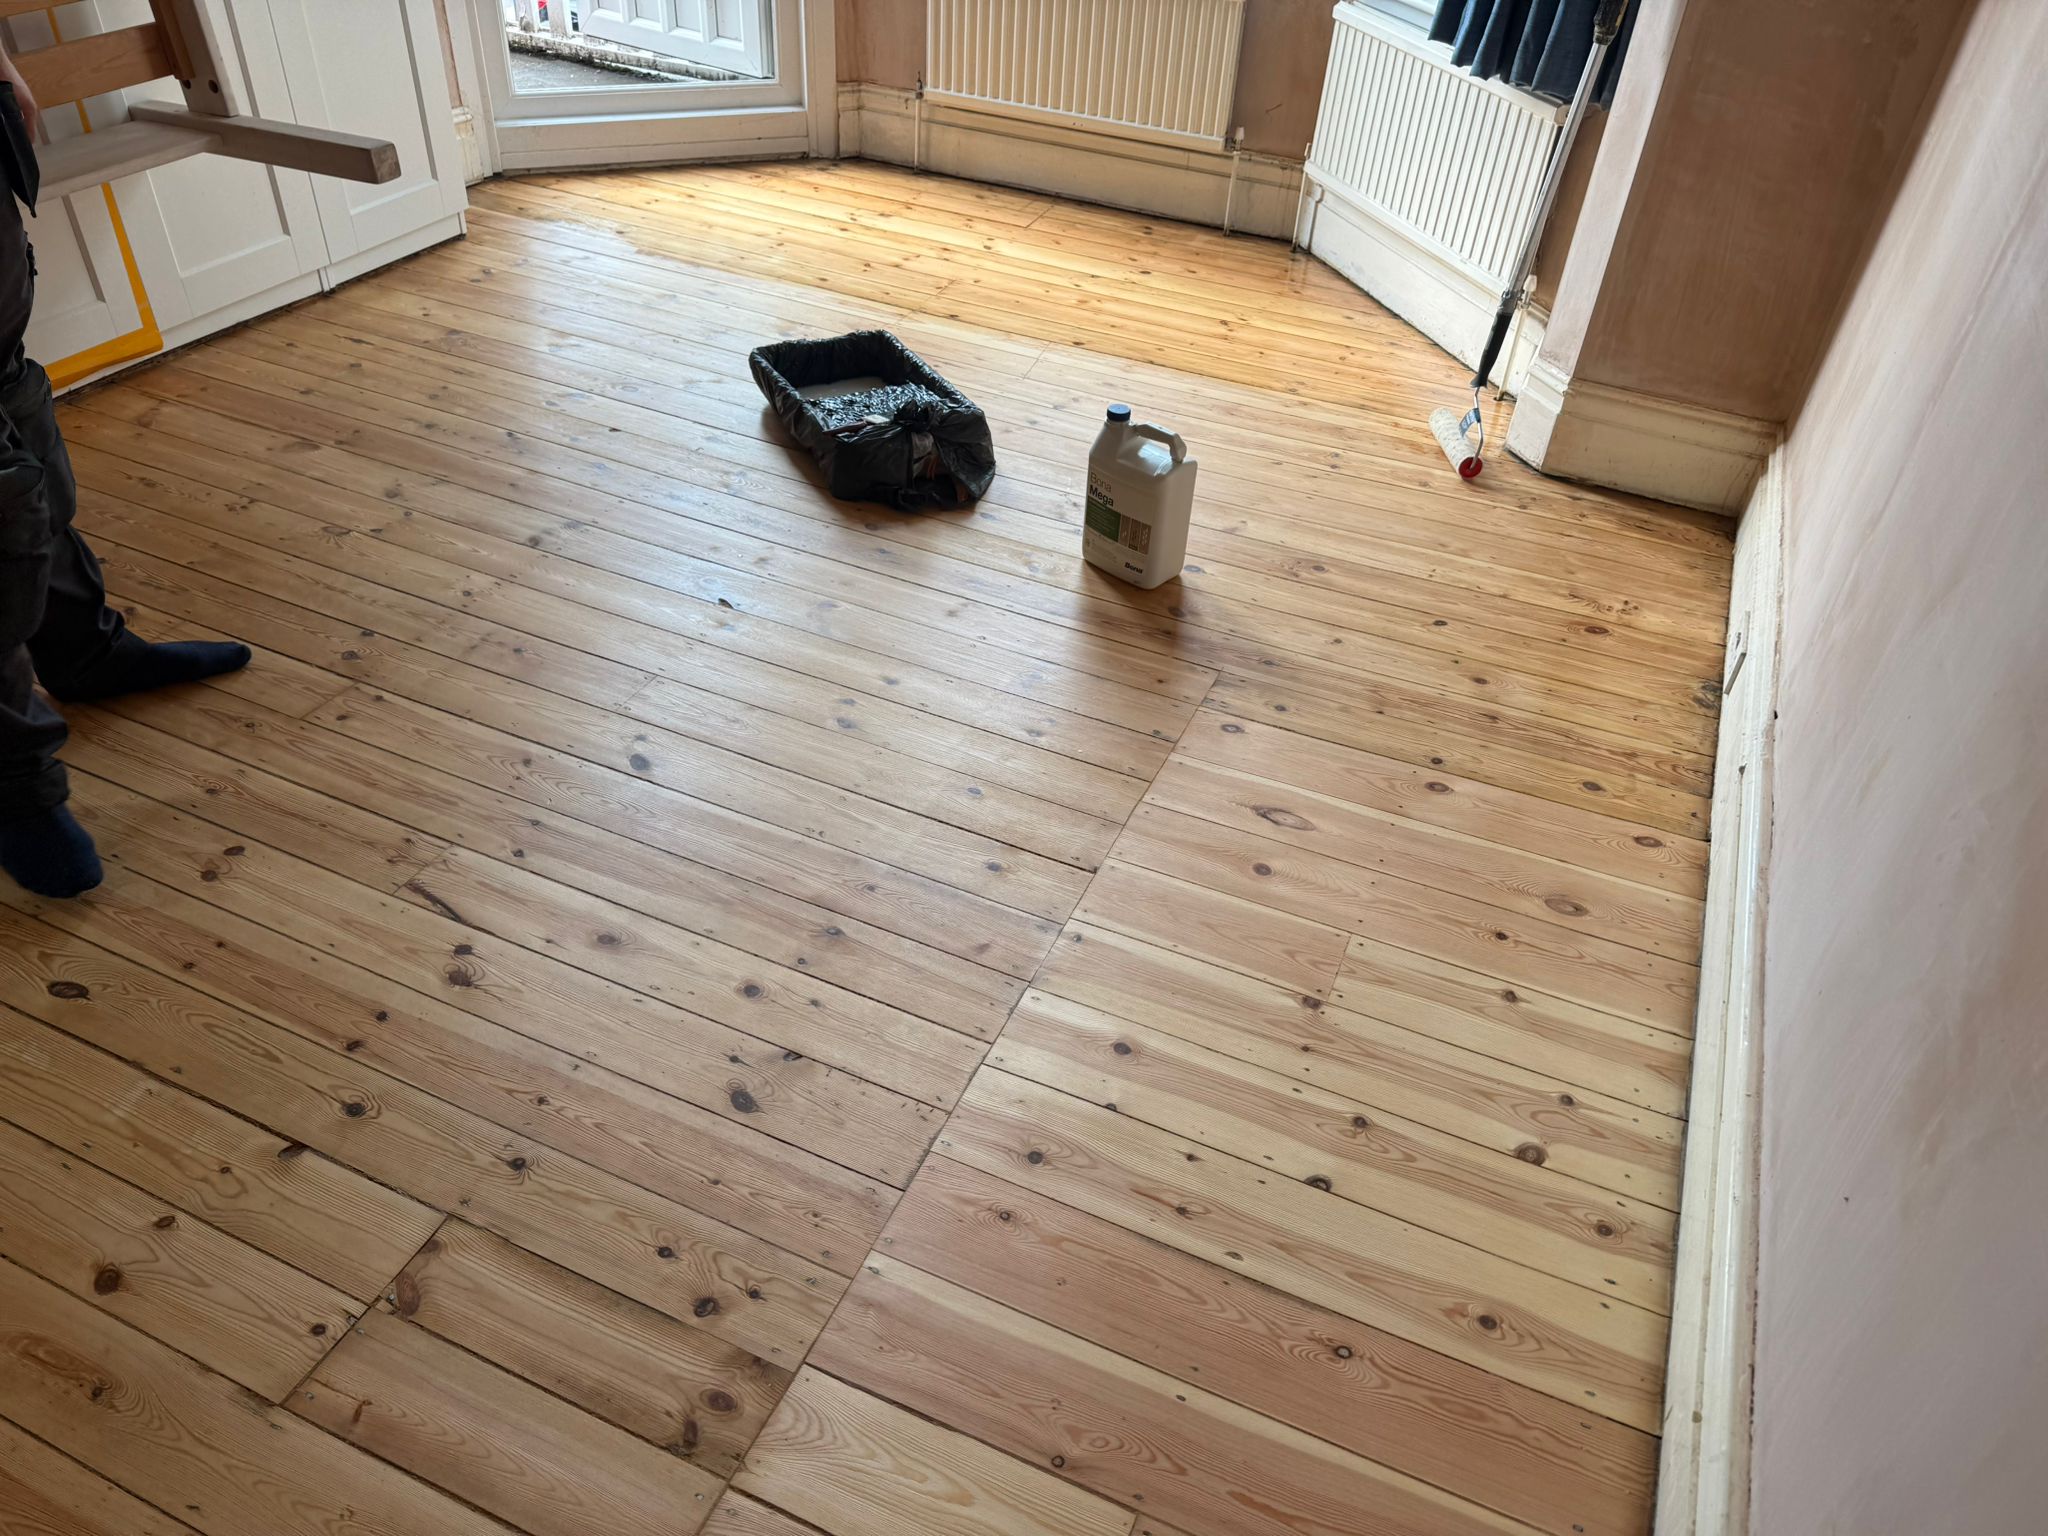
- Hardwax oil: Natural, tactile, easy spot repairs, superb on character woods. Needs periodic refresh.
- Lacquer (varnish): Tough, low-maintenance, available from matt to gloss; less forgiving to scratch repair.
- Penetrating oil: Deep, warm tone, very natural look; more frequent care.
- Primers/seal coats: Prevent tannin pull-through on oak; help with adhesion and even colour.
Always test on an offcut or hidden corner. Different timbers (oak, pine, maple, teak) take finish and stain differently; lighting changes everything.
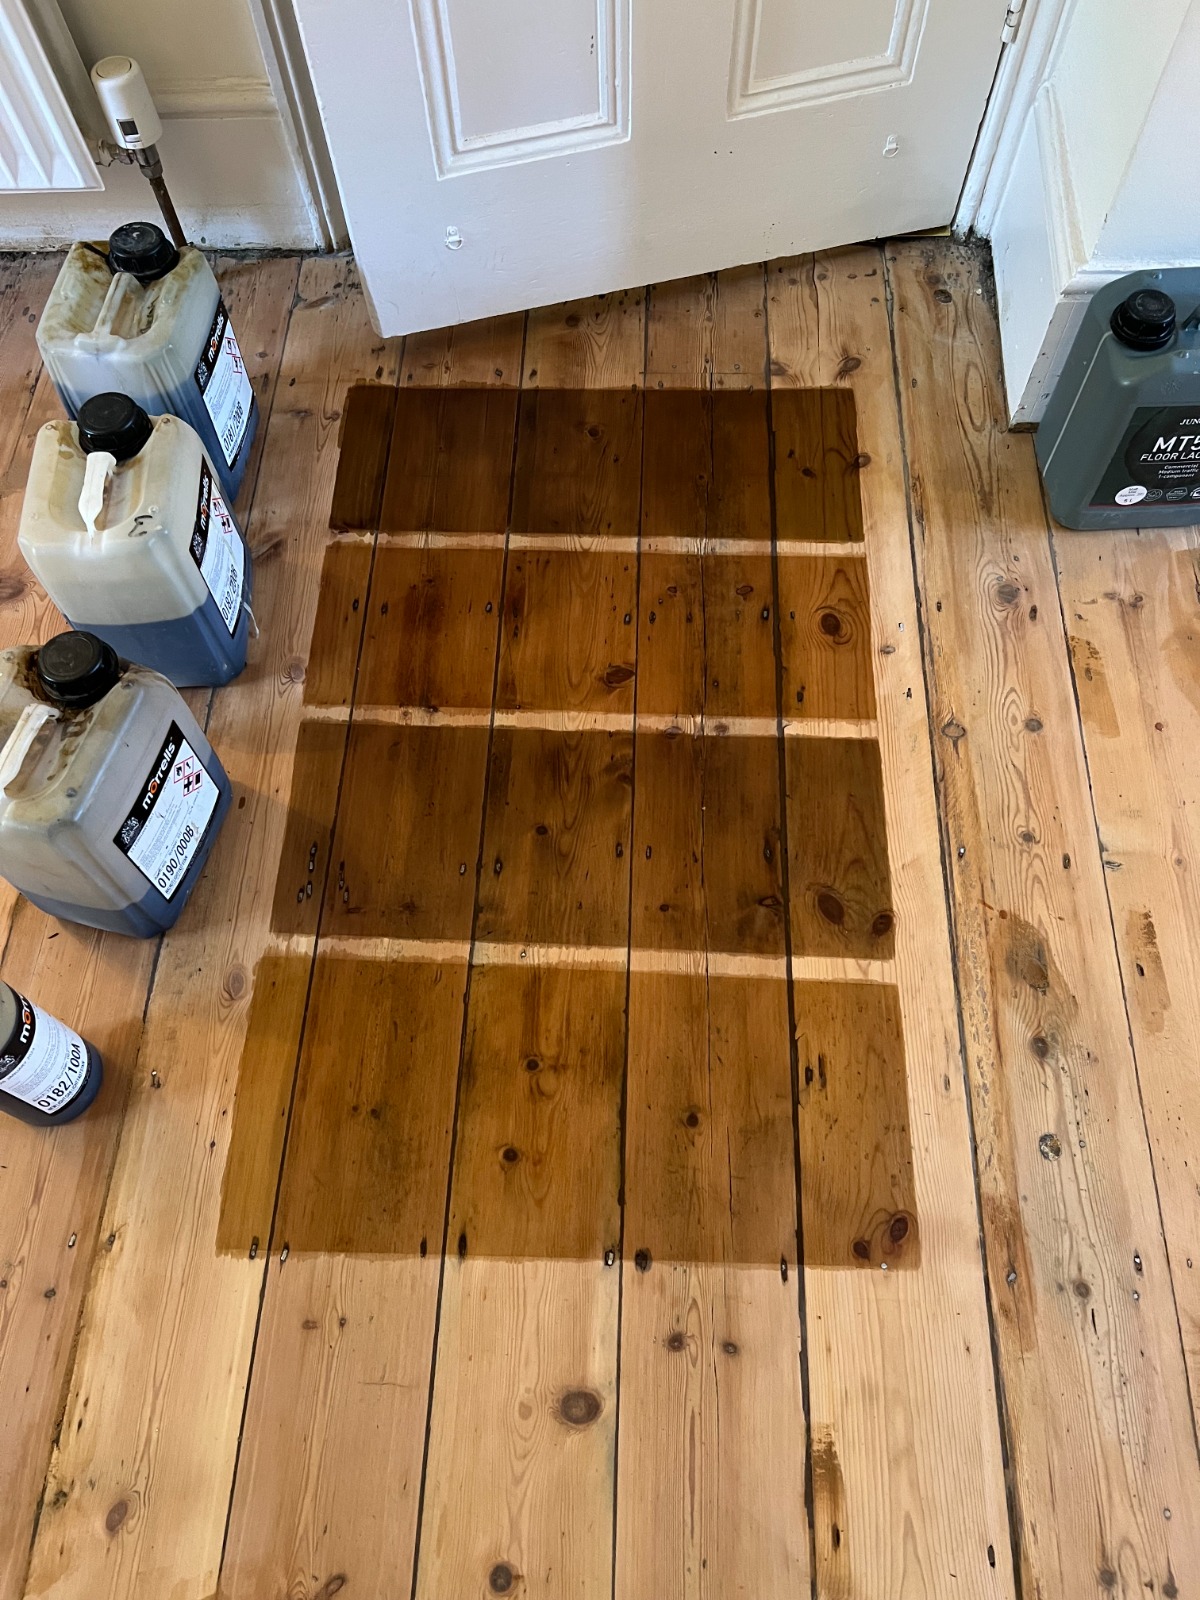
10) Colouring, stains, and dramatic grain
If you want a tone change:
- Water-based stains raise grain slightly—plan a fine de-nib before topcoat.
- Solvent-based stains flash quickly—work in manageable sections.
- Reactive stains (fuming, lyes) are advanced: practise first, as they interact with tannins and can be unpredictable.
Keep application even and wet-edge to wet-edge. Wipe off excess consistently; uneven wipe-offs = blotches.
11) Special cases: parquet, softwood boards, and engineered floors
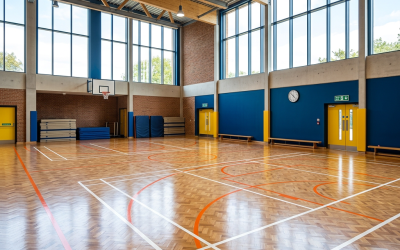
- Parquet (herringbone, mosaic, fingerblock): Begin with a diagonal levelling pass before going with the pattern. Consider a primer that blocks tannin if you’re top-coating with water-based lacquer on oak.
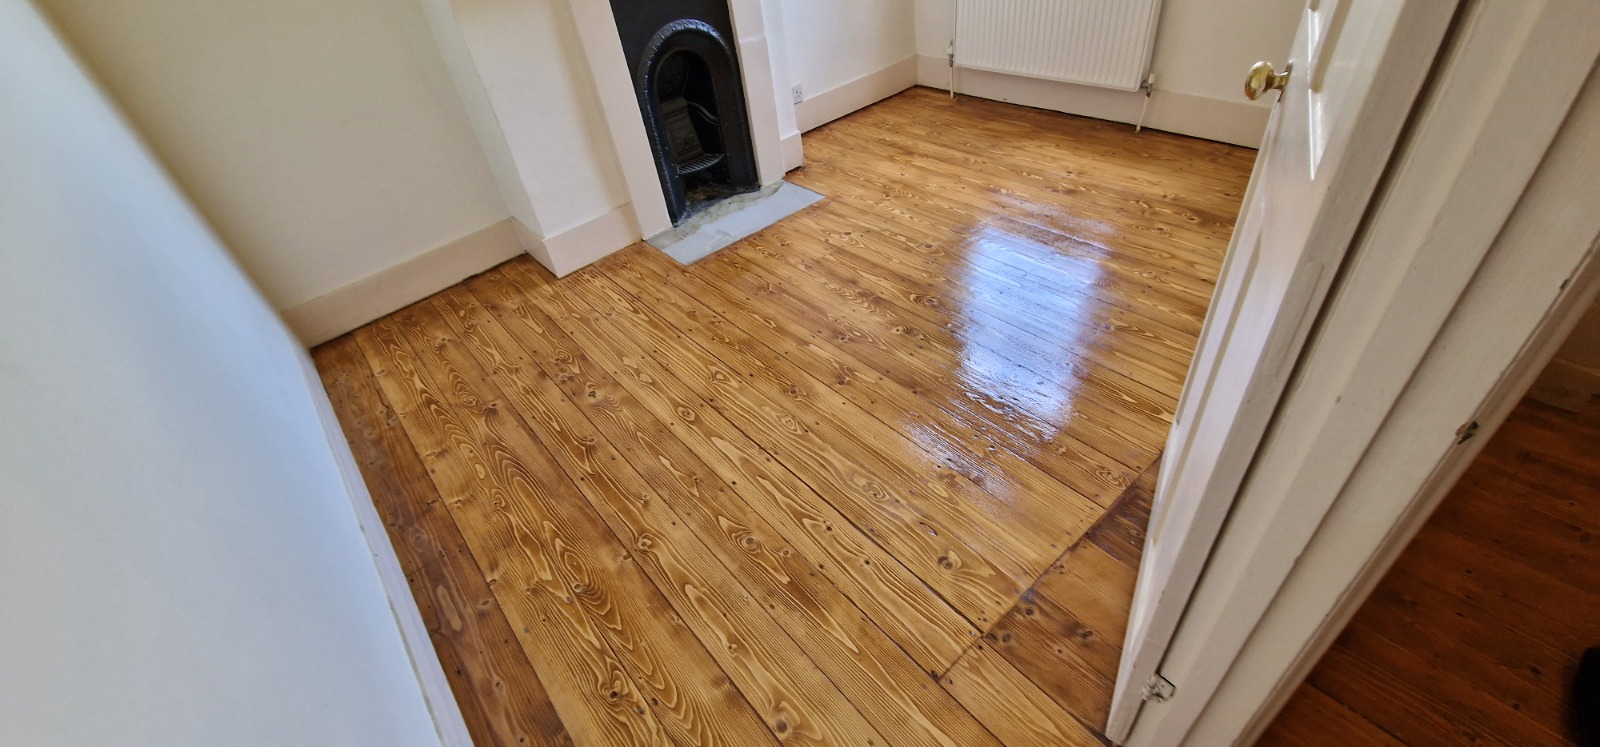
- Victorian/Edwardian pine: Soft, charming, and prone to swirl marks with aggressive grits. Don’t rush; finish around 100–120. Oils make it sing; lacquers keep it practical.
- Engineered planks: Confirm wear-layer thickness; take lighter passes; avoid over-sanding edges where veneer is thinnest.
12) Common mistakes—and how to dodge them
- Skipping grits: You’ll chase scratches for hours. Follow the plan.
- Starting too fine: You’ll glaze the old finish and polish defects into permanence.
- Dwelling at the edge: Creates scallops and “dishes”. Keep moving, keep overlapping.
- Sanding cross-grain on strip floors: Leaves stripes that shout under lacquer.
- Dust in the finish: Vacuum, tack, and keep pets (and people) out until it’s dry.
- Coating too quickly: Respect re-coat windows; rushing locks in solvents and weakens the finish.
If something goes wrong, stop and reassess. Most issues can be corrected by dropping back one grit, sanding the affected area, and re-blending.
13) Time and budgeting without the stress
You’re balancing three things: hire costs, consumables, and your time.
- Hire: Quality machines make the job faster and cleaner; cheap kit prolongs pain.
- Abrasives: Budget for more than you think; dull paper is false economy.
- Finishes: Buy enough for the recommended coverage plus a little extra for insurance.
- Time: Count passes (not hours). Each grit is a mini-project: field, edges, vacuum, inspect.
If your space is large, split it into logical zones. Finishing one room completely before starting the next does wonders for morale.
14) Aftercare: protect your work from day one
- Cure time matters: “Dry to the touch” isn’t “ready for rugs and parties”. Follow the manufacturer’s cure guidance.
- Felt pads under every chair and table. Replace them before they compress flat.
- Door mats: gritty shoes are your finish’s sworn enemy.
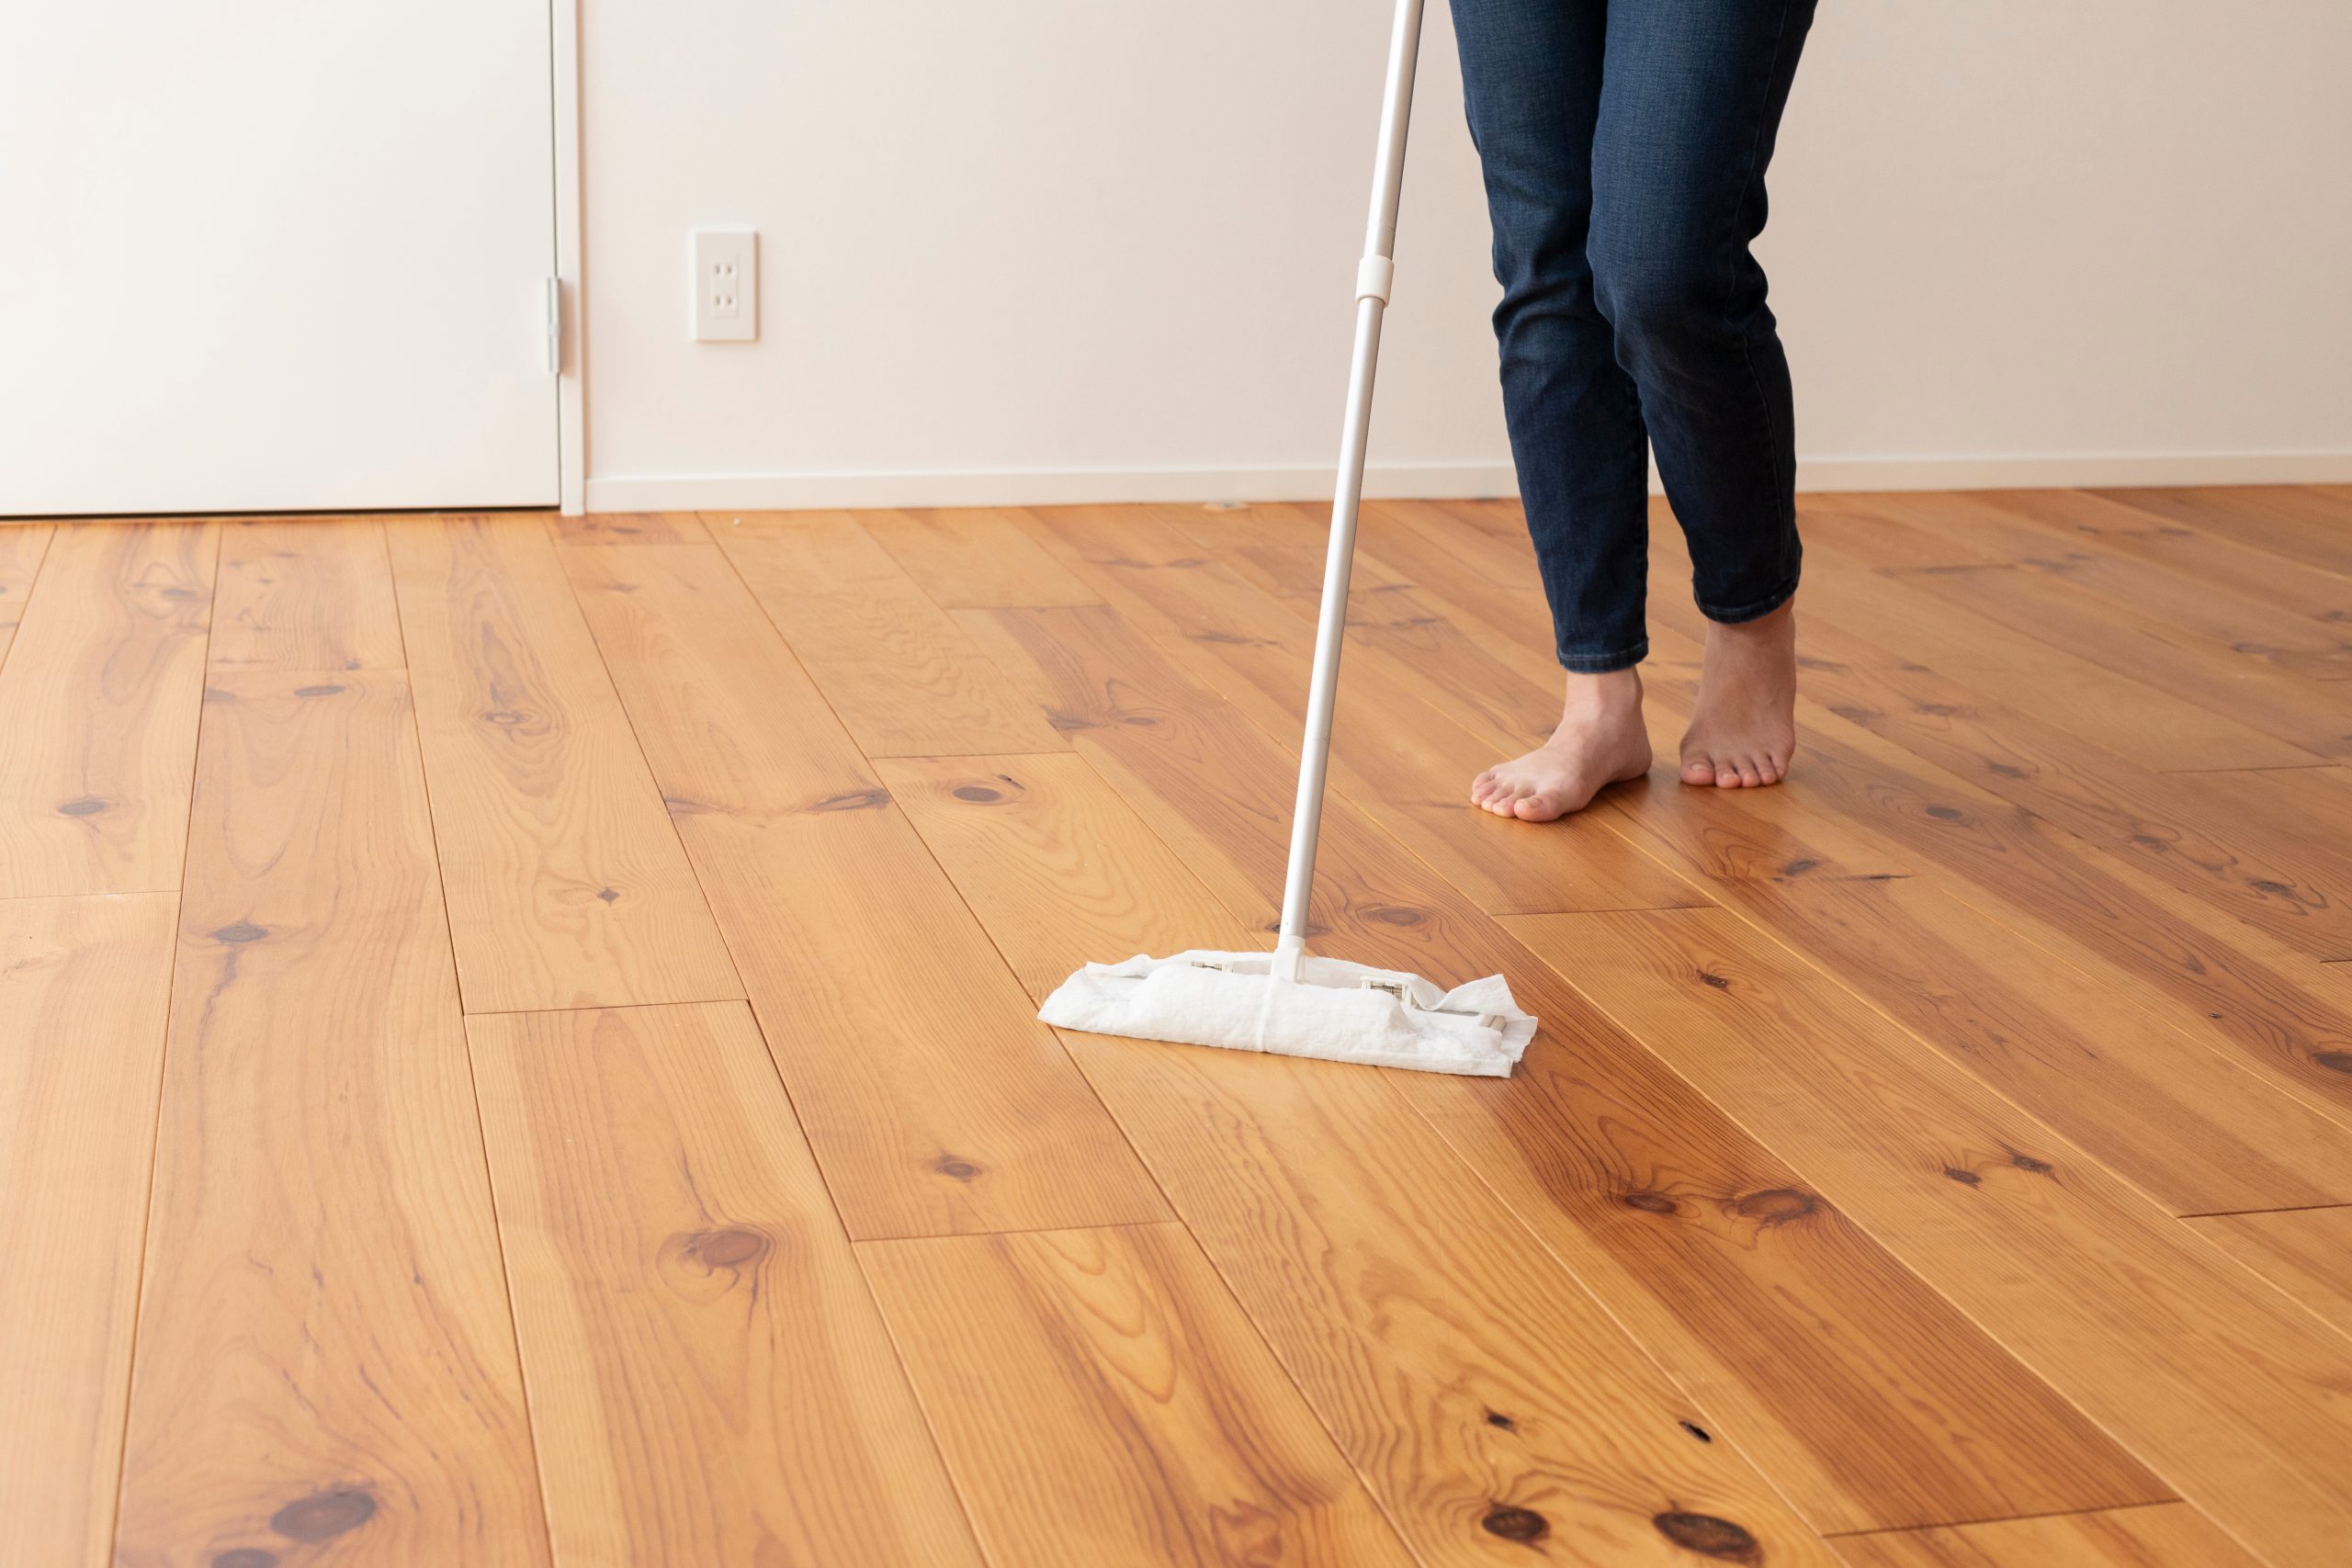
- Cleaning: pH-neutral cleaner, damp (not wet) microfibre, and a soft brush head on the vacuum.
- Climate: Aim for steady humidity; wild swings open gaps and stress finishes.
Set a reminder to check high-traffic lanes in six months. A quick maintenance coat before wear breaches the film can extend the system’s life by years.
15) DIY vs calling a professional
Be honest about your appetite for detail and your timetable. The skills are learnable, but they reward patience and tidy habits. If you’re tackling heritage parquet, a complex stain schedule, or a tight deadline, opt for professional Wood Floor Sanding. You’ll get consistent flattening, silky blending at the edges, and a finish that behaves.
If you go DIY, do it with care, not bravado: practise lowering and raising the drum, run test passes, and keep a notebook of grits, passes, and observations. Calm beats quick, every time.
16) Troubleshooting quick reference
- Washboard lines (little ripples along the grain): pressure or speed mismatch; lighten up, refine one grit back.
- Swirl marks (circular scratches under light): too aggressive on the random-orbit or dirt under the pad; vacuum and re-pass with a finer grit.
- Edge halos (dark ring around the room): edge/field mismatch; feather with a random-orbit at the field’s final grit.
- White lines after coating: dust nibs or raised grain; de-nib gently and re-coat within the window.
- Lap lines in stain: working too dry or too large an area; keep a wet edge, reduce section size, and wipe off evenly.
17) Final pointers before you begin
- Light is your ally: a cheap work lamp at floor level reveals everything.
- Keep spare belts/discs ready: stopping mid-room to hunt more paper is when mistakes happen.
- Respect edges and thresholds: these small areas decide whether a floor looks “done by a pro” or “done in a rush”.
- Breathe: take small breaks; you sand better when you’re not tense.
18) Ready to make a start?
If you follow the plan—good inspection, sensible grits, tidy technique, and a finish that suits your lifestyle—you’ll end with a floor that calms the room and quietly impresses everyone who walks in.
If you’d like help or prefer a guaranteed, immaculate result first time, book professional support for Wood Floor Sanding. Your future self (and your skirting boards) will thank you.